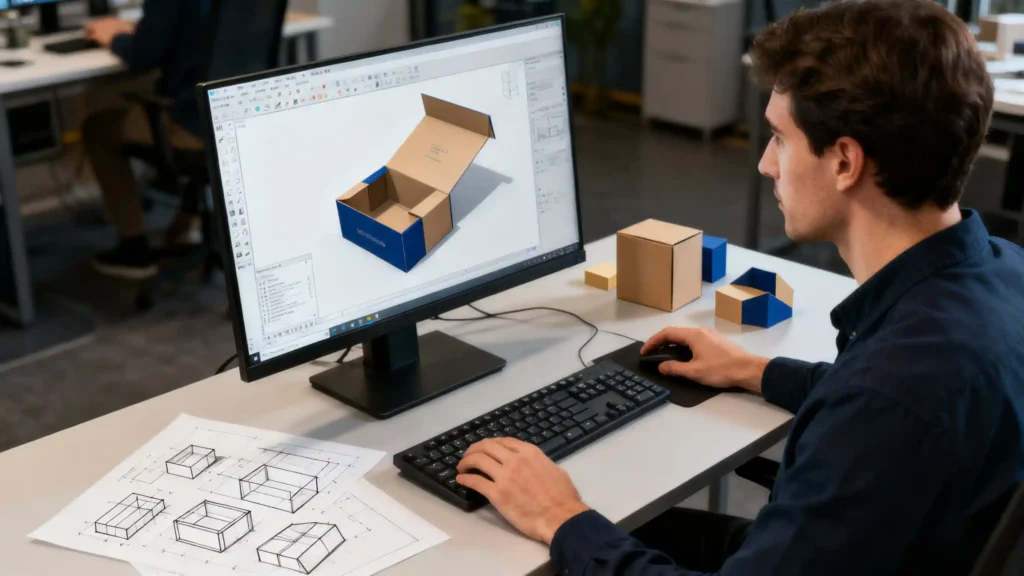
Starting a custom rigid box project feels exciting, but it can quickly become overwhelming. Without a clear plan, you might face unexpected costs and delays, turning your vision into a frustrating experience.
To ensure success, you must first define your budget, finalize your design, and choose the right materials. A clear understanding of your project scope, timeline, and the production process is crucial before you even contact a packaging supplier. This preparation saves time, money, and ensures the final product matches your vision.
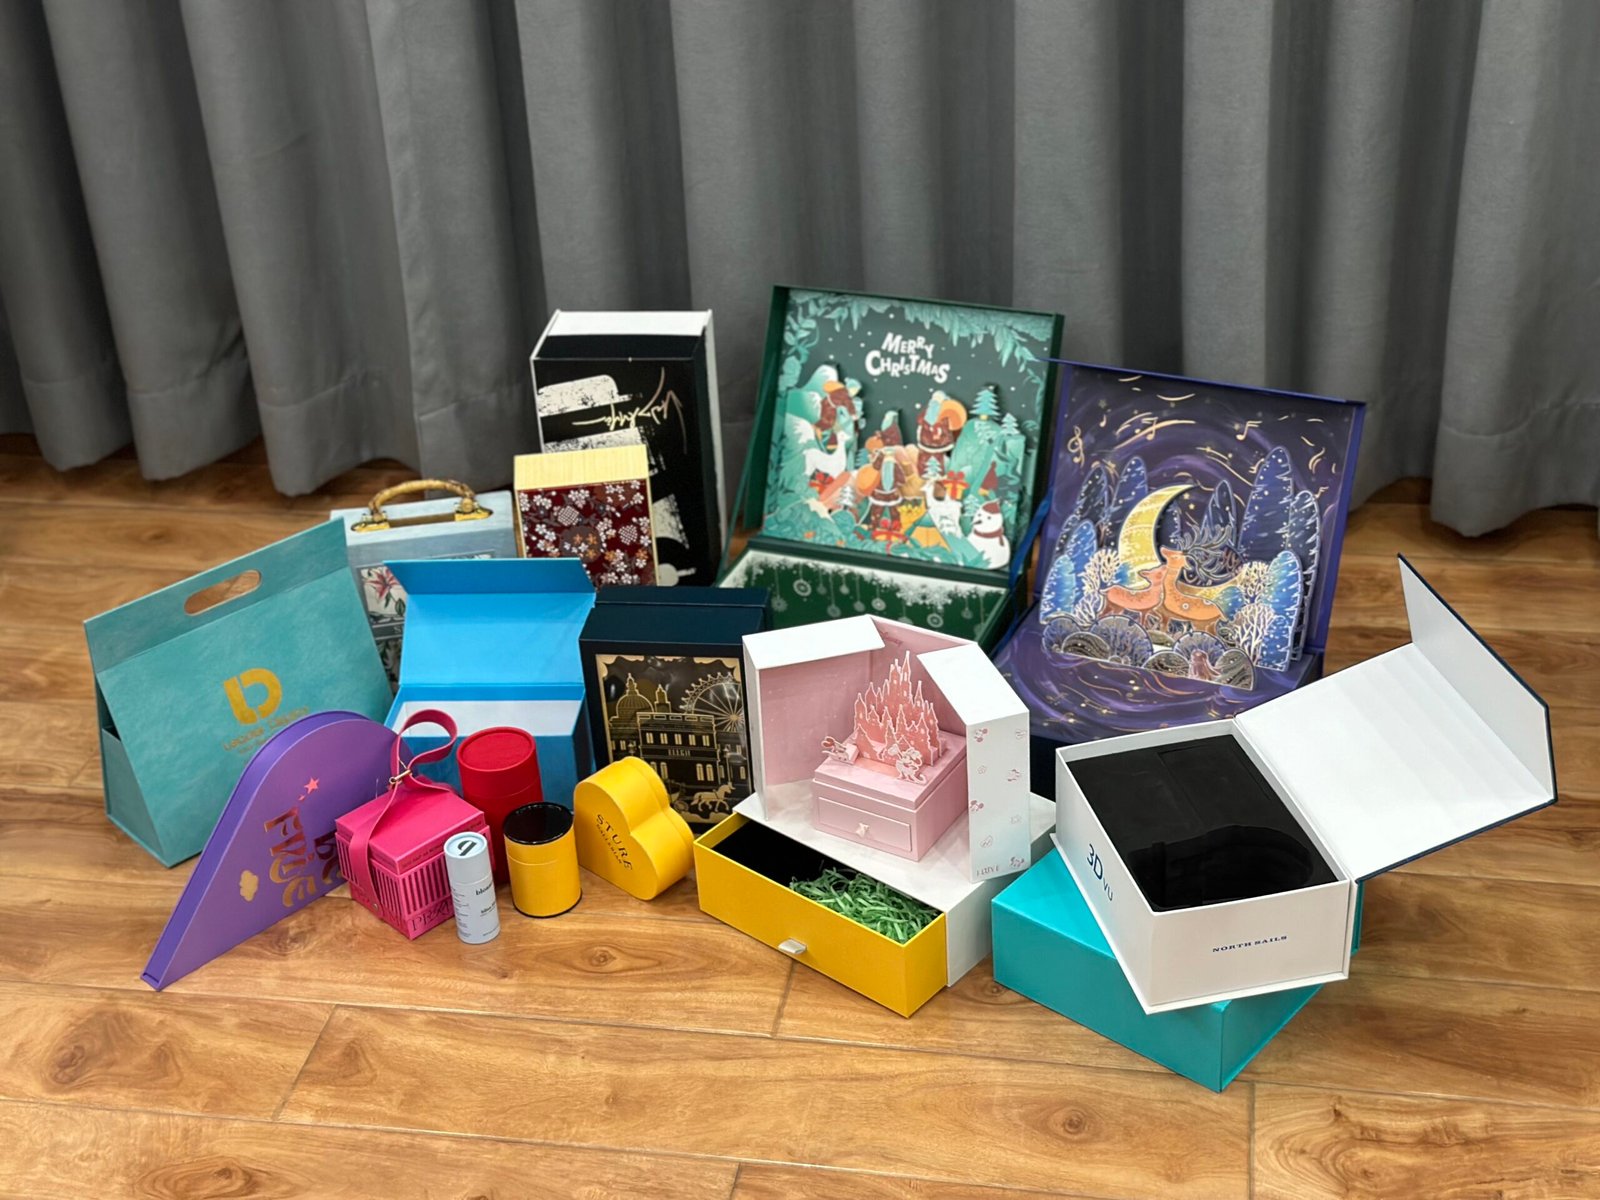
Embarking on a custom packaging journey is a significant step for any brand. It's about creating more than just a container; it's about crafting a customer experience. From my 16 years in the packaging industry, I've seen brilliant product ideas fall short because of poorly planned packaging. To help you avoid these pitfalls, I want to share the essential things you need to know. Getting these elements right from the start will make the entire process smoother and more successful. Let's walk through the key questions you should ask yourself.
How do you define a realistic budget for your packaging?
You have a great product but haven't planned your packaging budget. This often leads to shock when quotes come in, forcing you to compromise on quality or scrap your ideas.
A realistic budget for custom packaging includes not just the box itself, but also tooling fees, printing plates, design revisions, and shipping. Factoring in these costs from the beginning prevents budget overruns and ensures your project stays on track financially.
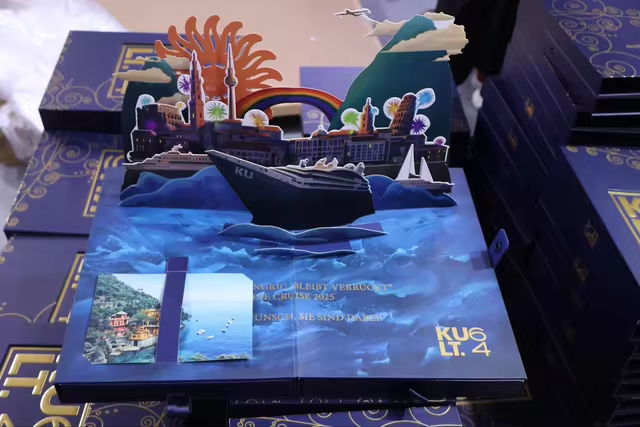
Defining your budget is more than just picking a number; it's about understanding what drives costs in a rigid box project. The biggest factor is often quantity. The more you order, the lower the per-unit price. This is because setup costs, like creating a custom dieline or printing plates, are fixed. Spreading that cost over 5,000 boxes is much different than spreading it over 500. I once had a client, a startup cosmetics brand, who wanted only 200 boxes. The per-unit cost was high. I advised them to increase their order to 1,000 units. While the total investment was higher, the cost per box dropped by nearly 60%, significantly improving their profit margin on each sale. It's a trade-off between upfront investment and long-term profitability.
Here's a simple breakdown of costs to consider:
| Cost Component | Description | Type |
|---|---|---|
| Tooling/Die Plate | A one-time fee for creating the custom die to cut your box structure. | Fixed |
| Printing Plates | A one-time fee per color for offset printing. | Fixed |
| Materials | Cost of the greyboard and the wrap paper, which varies by quality and type. | Variable |
| Printing & Finishes | Cost for printing, plus special finishes like foil stamping or embossing. | Variable |
| Assembly | Labor costs for constructing the boxes. | Variable |
| Shipping | Cost to ship the final boxes from the manufacturer to you. | Variable |
Understanding these components helps you have a more informed conversation with your packaging partner.
What design elements should be finalized before production?
Having a vague design concept is a common starting point. But this vagueness leads to endless back-and-forth with your designer, causing frustrating delays and unexpected costs.
Before you approach a manufacturer, you must finalize your structural design, artwork, and branding elements. Having a complete design file ready prevents costly changes and production holds, ensuring a smooth and efficient process from the start.
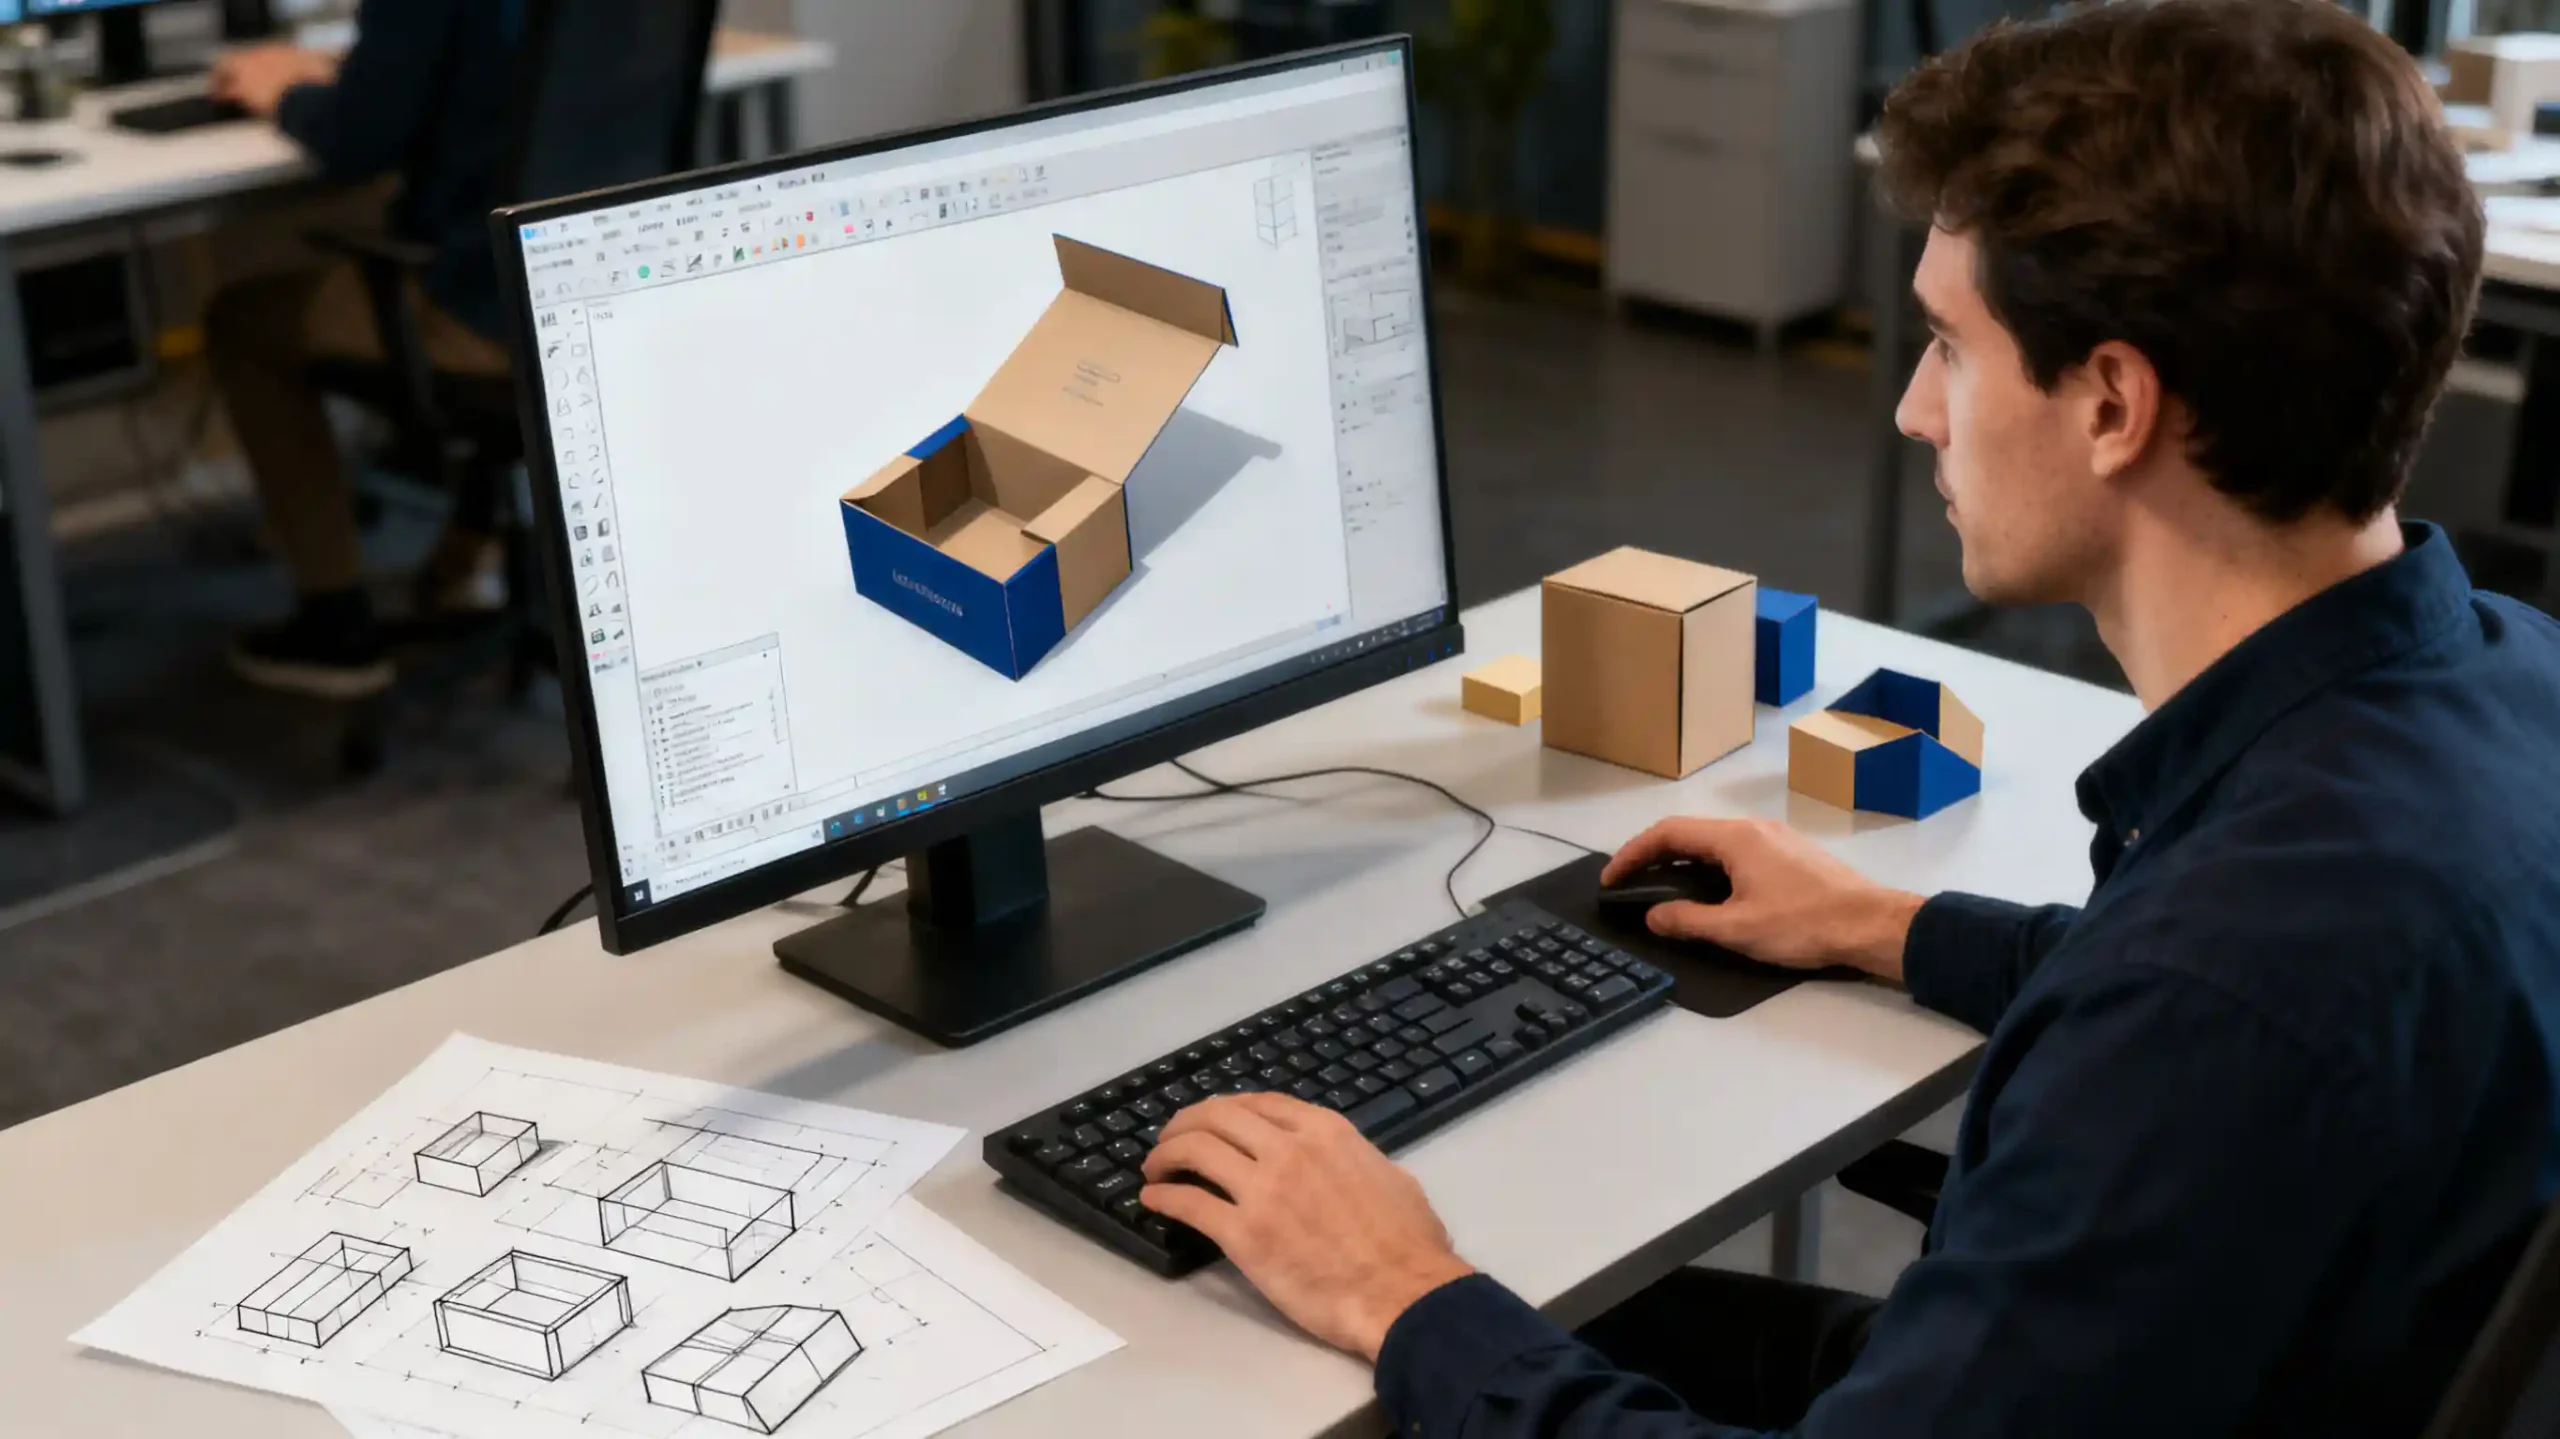
As a designer myself, I know how tempting it is to jump straight into the creative part. But for a packaging project, the technical details are just as important. Finalizing the design means locking down every single detail before it hits the factory floor. Think of it as creating a complete blueprint for your box. The first piece is the structural design, or the dieline. This isn't just about the box's dimensions; it's about how it opens, how the product sits inside, and the overall user experience. You should always request a plain, unprinted prototype (a "white sample") to test with your product. Does it fit securely? Is it easy to open? I remember a project for a luxury watch brand where the initial box design was beautiful but difficult to open. We created three prototypes before we found a structure that was both elegant and user-friendly. Finalizing the dieline first saved us from producing thousands of unusable boxes.
Next, you have the graphic design. This includes:
- Artwork: All images and graphics should be high-resolution (at least 300 DPI).
- Colors: Specify colors using a universal system like Pantone (PMS) for brand consistency or CMYK for full-color prints.
- Text: All text, from your brand story to ingredients or warnings, should be proofread and placed correctly on the dieline.
Finally, ensure all branding guidelines are met. Where does the logo go? Is there any legally required information? Getting all this approved internally before you send it to me, or any manufacturer, is the single best way to keep your project on schedule.
How does material selection impact your final product?
Choosing from a vast sea of paper and board options is confusing. Picking the wrong material can make your luxury product feel cheap or, conversely, cause you to overspend unnecessarily.
The material you choose directly impacts your box's sturdiness, perceived value, sustainability, and cost. Your choice should align with your product's weight, your brand's image, and your budget to create the perfect packaging experience.
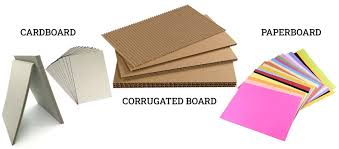
The feel of a box in a customer's hands is their first physical interaction with your brand. That's why material selection is so critical. It’s a decision that balances aesthetics, function, and cost. The foundation of any rigid box is the greyboard (or chipboard). Its thickness, measured in millimeters or points, determines the box's rigidity. A heavier product needs a thicker, denser board to ensure it's protected. But the real magic happens with the wrap material. This is the paper that is laminated onto the greyboard, and it's what your customer sees and touches. You can choose from standard art paper for great print quality, textured paper for a tactile feel, or specialty paper with a unique finish. I worked with a chocolatier who wanted a very earthy, natural feel. We selected a kraft paper wrap with a subtle texture. The final box felt rustic and authentic, perfectly matching their brand. This choice wouldn't have worked for a high-tech gadget, which might be better served by a smooth, matte-finished paper.
Here’s a quick comparison of common wrap materials:
| Material Type | Best For | Feel/Look |
|---|---|---|
| Art Paper | High-quality printing, vibrant colors. | Smooth, professional |
| Kraft Paper | Eco-friendly, rustic, or industrial look. | Natural, textured |
| Specialty Paper | Luxury products, unique tactile experiences. | Varies: metallic, soft-touch, etc. |
| Linen Paper | Elegant and classic branding. | Woven, fabric-like texture |
Beyond aesthetics, consider sustainable options. Using recycled paper or materials certified by the Forest Stewardship Council (FSC) can be a powerful part of your brand story. Don't forget that finishes like a soft-touch lamination or a spot UV coating are applied to the wrap material and can dramatically elevate the final product.
What are the key production milestones you should track?
Once you've sent your files to the manufacturer, waiting can be nerve-wracking. Not knowing the status of your project creates anxiety and makes it impossible to plan your product launch.
To stay in control, you should track key production milestones. These include sample approval, material ordering, printing, assembly, and quality control. Monitoring these stages helps you anticipate delays and ensures your project is on schedule.

Handing over your design is a huge step, but your work isn't done yet. Staying involved and tracking progress is key to a successful outcome. At Giftspack, we proactively communicate with clients at each stage, but you should know what those stages are so you can ask the right questions. The first milestone after approving the digital proof is the pre-production sample (PPS). This is a fully printed and assembled sample of your box. It's your last chance to check colors, alignment, and overall quality before the full run begins. I always tell my clients to scrutinize this sample. Once you approve it, the factory will proceed with mass production, and changes become very expensive, if not impossible. After PPS approval, we move to material procurement, printing, and die-cutting. Then comes assembly, which for rigid boxes is often done by hand. The final, and perhaps most important, milestone is the quality control (QC) check. This is where boxes are inspected for defects before being packed and shipped. We once had a project where the QC team caught a slight color variation on 10% of the boxes. Because we caught it before shipping, we were able to reproduce that batch and ensure the client received a perfect order. By understanding and tracking these milestones, you become a partner in the process, not just a spectator.
Conclusion
In short, a successful custom rigid box project relies on careful planning. By defining your budget, finalizing your design, selecting the right materials, and tracking production, you can ensure a smooth process and a beautiful final product.

