Struggling to get the packaging you envisioned? A flawed collaboration with your designer might be the problem. Let’s fix that process and achieve amazing results together.
For the best results, provide a clear and detailed brief, establish open communication channels, give constructive feedback, and trust your designer's expertise. This partnership approach ensures your vision is realized effectively and efficiently, turning a good idea into a great final product.

In my 16 years in the packaging industry, I've seen countless projects succeed or fail based on one thing: the quality of the partnership between the business and the designer. A great designer can work magic, but only if you give them the right information from the start. I’ve learned that a project's success is often determined long before the first design concept is even created. It all starts with how you begin the conversation. Let's explore how to build that winning relationship from day one.
What Information Should You Provide Your Designer Before Starting?
Are your design projects starting with confusion? A vague brief leads to endless revisions and wasted time. Let’s create a solid foundation for success from the very beginning.
Provide a comprehensive design brief. This document should include your brand guidelines, target audience profile, product specifications, budget constraints, desired materials, and examples of packaging you like and dislike. Clarity here prevents costly misunderstandings later.

A professional designer needs more than just a product; they need context. The most important thing you can give them is a detailed brief that acts as a roadmap for the entire project. I remember a client who asked for packaging that "looks premium." That's a common request, but it's far too vague. We had to spend weeks figuring out what "premium" meant for their specific customer. Was it a minimalist design? A soft-touch finish? Gold foil stamping? A detailed brief would have answered these questions upfront and saved valuable time. A great brief doesn't just describe what you want; it explains why you want it. This "why" is the strategic core that guides every creative decision.
The Perfect Design Brief Checklist
| Category | Key Information to Include |
|---|---|
| Brand Identity | Your logo files, color palette, typography, brand voice, and overall mission. |
| Product Details | Exact dimensions, weight, fragility, and any specific protection needs. |
| Target Audience | Who is the end customer? Include their age, interests, and what motivates their purchases. |
| Project Goals | Is the goal to stand out on a shelf, improve the unboxing experience, or reduce shipping costs? |
| Budget & Timeline | Be upfront about your budget per unit and the overall project deadline. |
| Inspiration | Share examples of packaging you love (and hate) to give a clear visual direction. |
How Can You Ensure the Design Process Stays on Track and on Budget?
Worried about project scope creep and ballooning costs? An unmanaged design process can quickly derail your project. Let’s implement controls to keep everything aligned and predictable.
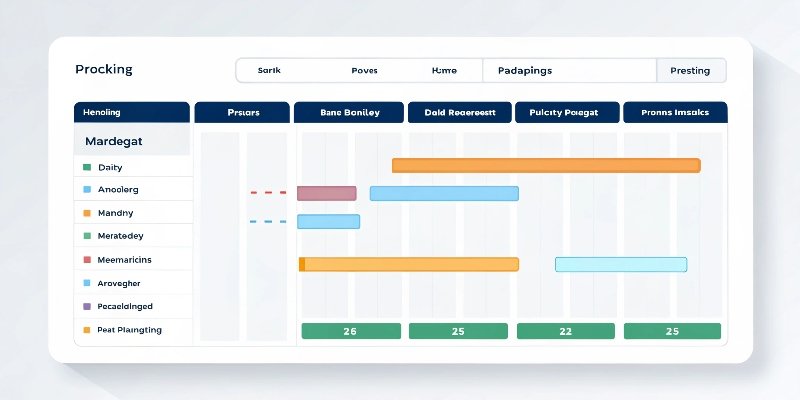
Set clear milestones, a realistic timeline, and a firm budget from the start. Schedule regular check-in meetings to review progress against these goals. This proactive management helps identify potential issues early and keeps the project moving forward efficiently without surprise costs.

A successful project is a well-managed one. Before any design work begins, you and your designer must agree on the rules of the game. This means defining the project's key phases and setting deadlines for each. This structure brings predictability to a creative process. At Giftspack, we always outline the number of revision rounds included in our initial proposal. This isn't to limit creativity; it's to encourage focused, high-quality feedback and prevent the project from getting stuck in an endless loop of "just one more little tweak." A single point of contact on your team is also essential. When a designer receives conflicting notes from different people, it causes confusion and delays. Appointing one person to collect and deliver all feedback ensures a clear, unified message.
Managing the Process Effectively
Setting Clear Milestones
Break the project into smaller, manageable stages. This makes progress easy to track and celebrate.
- Stage 1: Initial Concept Presentation (e.g., 3-5 different directions)
- Stage 2: Refined Design Development (based on your chosen concept)
- Stage 3: Physical Mockup/Sample Review
- Stage 4: Final Artwork and Dieline Handoff
Communicating About Budget
Discuss the budget openly and honestly. A good designer will use your budget as a creative constraint, finding the best possible solution within your means. Be clear about the cost-per-unit you need to hit for the project to be profitable. This information influences material choices and production methods from the very beginning.
What Is the Best Way to Give Constructive Feedback on Designs?
Is your feedback causing frustration instead of improvement? Vague comments like "I just don't like it" leave designers guessing. Learn to give feedback that actually helps move the project forward.
Be specific and objective. Instead of saying "make it pop," try "can we increase the color contrast on the logo?" Refer back to the initial brief and project goals to ground your feedback in strategy, not just personal taste. This makes your comments actionable.

Feedback is where the client-designer partnership is truly tested. The goal of feedback isn't to state your personal opinion; it's to guide the design toward the project's strategic objectives. Avoid subjective comments that are difficult to act on. Instead, connect your feedback directly to the goals laid out in the brief. If the goal was to appeal to a younger audience, your feedback could be, "Does this font feel energetic enough for a Gen Z customer?" This is much more helpful than "I don't like that font." I always tell my clients to gather all their team's thoughts and deliver them in a single, consolidated document. This avoids the chaos of a designer, like our experienced designer Peter, trying to interpret contradictory notes from the marketing, sales, and executive teams at the same time.
Feedback: Good vs. Bad Examples
| Vague (Bad) Feedback | Specific (Good) Feedback |
|---|---|
| "It needs more flair." | "Let's explore adding a foil stamp to the logo to make it feel more luxurious." |
| "The color feels wrong." | "Our brand guide uses a slightly warmer blue. Can we match Pantone 285 C exactly?" |
| "Can you make it bolder?" | "The product name seems to get lost. Could we increase its font weight or size by 20%?" |
| "I'm not sure about this." | "This layout feels a bit cluttered. Can we try a version with more white space around the text?" |
How Do You Balance Creative Vision with Production Realities?
Did you approve a beautiful design that turned out to be too expensive or complex to produce? This gap between design and reality is a common and costly trap.
Involve your packaging manufacturer early in the process. An experienced designer will already consider material limits, printing methods, and assembly costs, but a manufacturer’s input provides a final reality check. This ensures the final design is both beautiful and manufacturable.

This is where my 16 years of experience have taught me the most valuable lessons. A design is only successful if it can be produced efficiently and within budget. I've seen clients fall in love with a stunning 3D render of a box with complex folds and inserts. But then we run the numbers and find that each box requires extensive manual assembly, which makes the cost per unit soar and kills profitability. A great packaging designer designs for manufacturing from the start. They understand that a simple change in paper thickness can impact shipping weight and cost, or that choosing a specific printing effect might require a different type of production machinery. This technical expertise is what separates good design from great, profitable packaging. You are not just hiring a designer for their creative eye; you are hiring them for their technical knowledge. Trust their recommendations on materials and structure—they are trying to save you from costly mistakes down the line.
Key Production Considerations
- Material Selection: The designer should propose materials that fit the brand image, provide adequate protection, and meet the budget.
- Printing & Finishing: The design must be compatible with available printing technologies (e.g., offset, digital) and special finishes (e.g., embossing, UV coating).
- Assembly & Logistics: A design that is difficult to assemble will increase labor costs. The folded-down box should also be efficient to ship and store.
Conclusion
Working with a packaging designer is a true partnership. By providing a clear brief, managing the process, and giving constructive feedback, you can help create packaging that elevates your brand.


