Struggling to budget for high-end packaging? The costs seem unpredictable, holding back your designs. Here’s how you can finally understand and control the final price of a project.
A custom luxury rigid box can range from $2 to over $20 per unit. The final cost depends heavily on materials, size, order quantity, and special finishes. Understanding these factors is key to managing your budget without sacrificing quality.
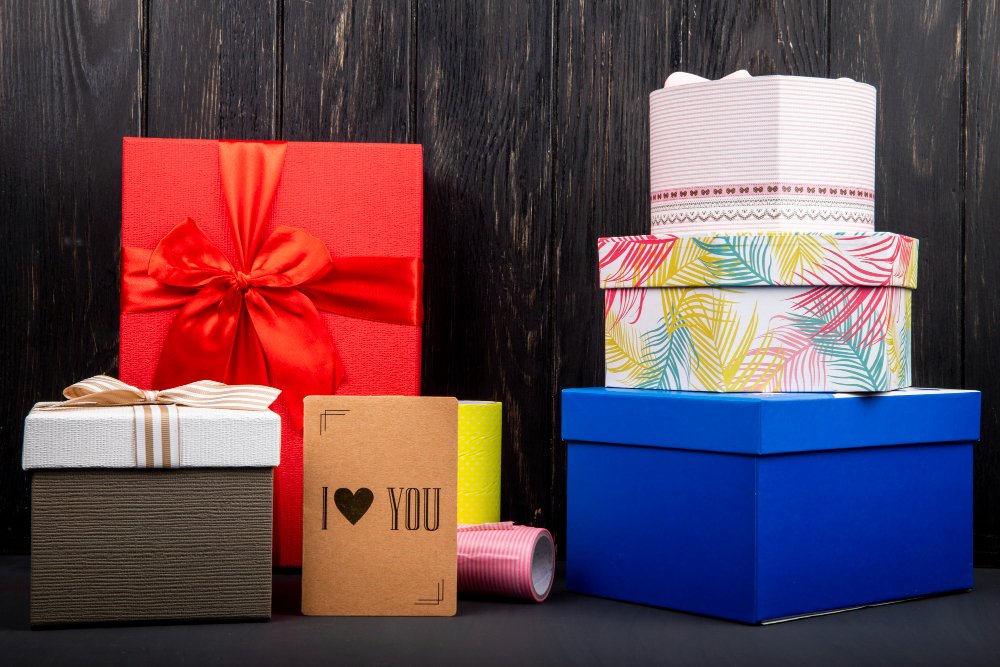
That price range is wide, I know. It can be frustrating when you're a designer trying to give a client a clear quote. After spending over 16 years in the packaging business, I've seen how these different factors affect thousands of projects. Let's break down exactly what you're paying for. This will help you design smarter and better manage your client's expectations from the start.
How Do Materials Impact the Final Box Price?
Ever chosen a beautiful paper only to have the project cost skyrocket? It’s a common issue. Let’s explore how to select materials that look great without breaking the budget.
The core material, usually greyboard, and the wrap paper are the main cost drivers. Thicker board and premium papers like textured or coated stocks significantly increase the price. Choosing standard, high-quality options can offer the best value for most luxury projects.
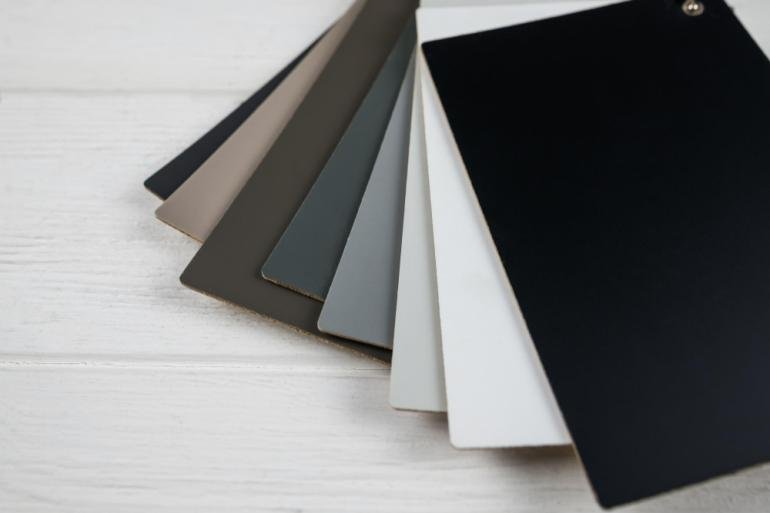
When we build a rigid box, we start with the structure itself. This is almost always made from greyboard, which provides the strength. The thickness you choose directly impacts the cost and the substantial feel of the box. A 2mm board feels sturdy, but a 3mm board feels truly premium. This choice depends on the product's weight and the perceived value you want to create.
Then we have the wrap paper that covers the greyboard. This is where you can really influence the look and feel. I remember a client who wanted a very specific textured paper from Italy. It was beautiful, but it doubled the material cost. We did a test run with a standard art paper finished with a soft-touch matte lamination. The client loved it and saved nearly 30% on their order. It's all about finding that sweet spot between aesthetics and cost.
Common Material Choices and Cost Impact
| Material Type | Description | Typical Cost Impact |
|---|---|---|
| Greyboard | The structural core, thickness varies (1mm-3mm). | Medium (by thickness) |
| Art Paper | Standard coated paper, very versatile for printing. | Low to Medium |
| Specialty Paper | Textured, colored, or pearlescent papers. | High |
| Kraft Paper | Natural, rustic look, often used for eco-friendly branding. | Medium |
Does Box Size and Structure Dramatically Change the Cost?
You've designed a complex, multi-part box, but now the quote is shocking. Unforeseen structural costs can derail a project. Let's see how size and complexity factor into the final price.
Yes, absolutely. Larger boxes require more material and often more labor to assemble. Complex structures, like boxes with multiple compartments, magnetic closures, or ribbon pulls, increase costs due to tooling, material waste, and the need for more manual assembly.
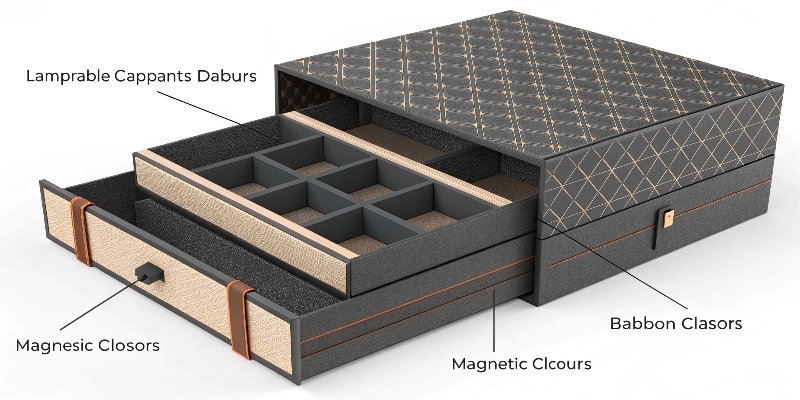
The most basic cost factor is the raw amount of material used. A bigger box simply costs more. But the structure is just as important. A simple two-piece "lid and base" box is the most cost-effective rigid box style. It's efficient to produce and assemble.
Once you move into more complex designs, the costs start to add up. For example, a "book-style" box with a magnetic closure requires not only the magnets but also precise handwork to embed them correctly. A "drawer-style" box with a ribbon pull requires the ribbon and the labor to attach it. Each of these small additions requires another step in the manual assembly process, which increases the labor cost. For a designer like you, Peter, it’s useful to know that sometimes a small simplification, like switching from a custom shape to a standard rectangle, can save your client hundreds on tooling fees alone.
Understanding Structural Costs
| Box Structure Type | Description | Cost & Complexity Level |
|---|---|---|
| Lid and Base | A simple top and bottom piece. Most common style. | Low |
| Drawer Style (Sliding) | A sleeve with a sliding inner tray. | Medium |
| Book Style (Magnetic) | Hinged lid that opens like a book, often with magnets. | High |
| Collapsible Box | Ships flat and is assembled by the end-user. | High (but saves on shipping) |
How Much Do Special Finishes Add to the Price?
Your client wants foil, embossing, and spot UV, but their budget is tight. These luxury finishes are desired but their costs are often mysterious. Let's shed some light on them.
Special finishes are what make a box feel luxurious, but they add up. Hot stamping (foil), embossing, and spot UV can each add $0.20 to $1.00+ per box. The final cost depends on the coverage area and complexity. Combining multiple finishes increases the total price significantly.
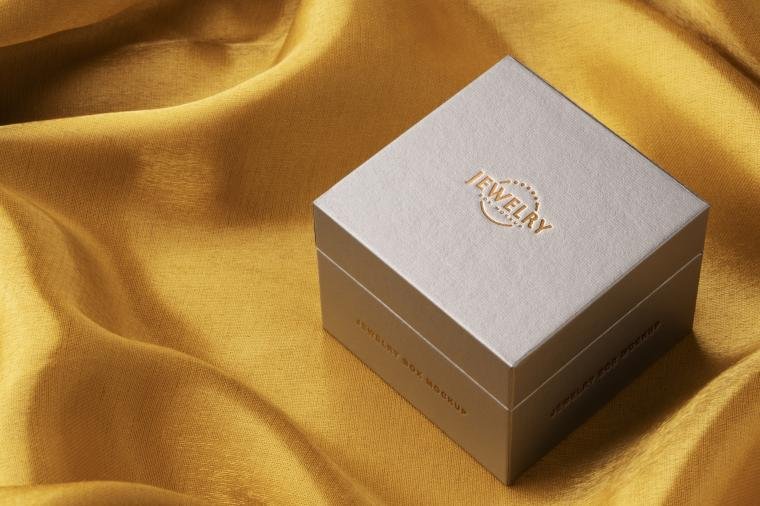
This is the part of the design process I really enjoy. Finishes transform a simple box into a tactile experience. But each process has its own setup cost and run cost. Hot stamping, for instance, requires a custom metal die to be made of your design. This die is heated and presses the foil onto the paper. The cost depends on the size of the die. A small logo is cheap, but foiling a large, intricate pattern across the whole box can get expensive quickly.
I often advise clients to choose one or two finishes and execute them perfectly, rather than trying to do everything. A few years ago, a cosmetics brand came to me wanting a box with gold foil, embossing, and a spot UV pattern. The quote was over their budget. I suggested they focus on a deep, sharp deboss of their logo on a high-quality matte paper. The result was incredibly elegant and understated. It looked far more luxurious than a box cluttered with too many effects, and it came in under budget.
Common Finishes and Their Cost Impact
| Finish Type | How It Works | Typical Cost Impact |
|---|---|---|
| Hot Stamping | Applying metallic or colored foil with heat/pressure. | Medium to High |
| Emboss/Deboss | Raising or depressing a part of the paper surface. | Medium |
| Spot UV | Applying a high-gloss varnish to specific areas. | Medium |
| Lamination | Applying a thin protective film (matte, gloss). | Low to Medium |
Why Does Order Quantity Have Such a Big Effect on Price?
Quoting a small run and a large run gives wildly different per-unit prices. This can confuse clients and make budgeting difficult. Let's see why a larger order is cheaper per box.
Fixed setup costs—for printing plates, cutting dies, and machine calibration—are spread across the entire order quantity. For a small order of 500 boxes, these costs make up a large portion of the unit price. For 10,000 boxes, that same cost becomes almost negligible.
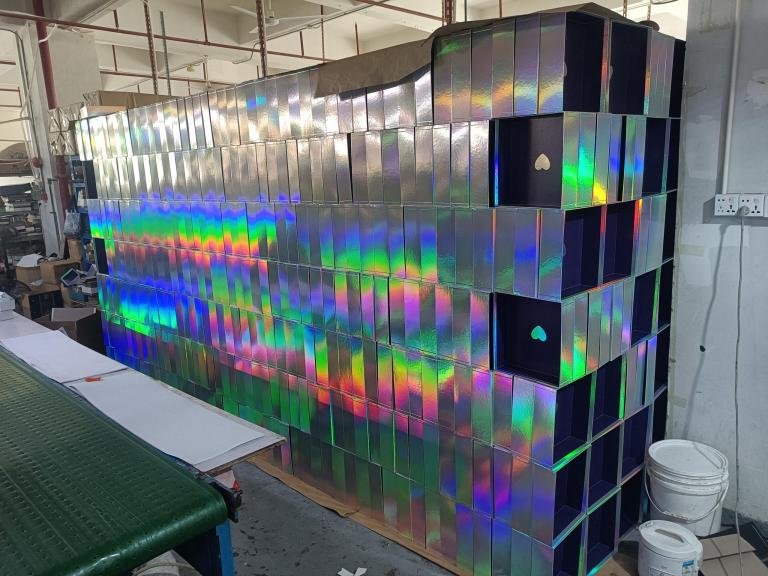
This is probably the most important factor for you to explain to your clients. Every custom box job has fixed, one-time setup costs. We have to create the printing plates, make the cutting die, and calibrate all the machines for that specific box. Let's say these total setup costs are $1,000.
If your client orders only 500 boxes, that $1,000 is divided by 500. So, $2 of the cost of each box is just to cover the setup. But if they order 5,000 boxes, that same $1,000 is now divided by 5,000. That means only $0.20 of each box's cost is for setup. The larger the order, the more you can spread out those initial costs, which sharply reduces the per-unit price. This is why a test run of 100 boxes can seem incredibly expensive per piece, but an order of 10,000 can be very affordable.
The Power of Fixed Costs
Let's look at a simple example.
- Total Setup Cost: $1,000
- Per-Unit Production Cost: $3.00
| Order Quantity | Setup Cost Per Unit | Total Cost Per Unit |
|---|---|---|
| 500 | $2.00 | $5.00 |
| 2,500 | $0.40 | $3.40 |
| 10,000 | $0.10 | $3.10 |
Conclusion
Luxury rigid box pricing is not a mystery. By understanding materials, size, finishes, and quantity, you can design incredible packaging that meets your client's budget and vision.


